When a Pacific Northwest windstorm, hailstorm, or fallen tree damages your roof, the stress of the moment can make it hard to think clearly about next steps. But the actions you take in the hours and days after storm damage directly affect whether your insurance claim is approved, how much it covers, and how quickly you can get your roof repaired or replaced. Here is a clear, step-by-step guide to navigating the roof insurance claim process.
Step 1: Ensure Safety and Prevent Further Damage
Your first priority is safety. Stay off the roof. Storm-damaged roofing can be unstable, and wet conditions make any roof surface dangerous. If the damage is severe enough that water is actively entering your home, place buckets or containers to catch water and move vulnerable belongings away from the affected area.
You have a legal obligation under your homeowner’s policy to mitigate further damage. This means taking reasonable temporary measures to prevent the situation from getting worse. Placing a tarp over a damaged section of roof, for example, is a common mitigation step. Keep receipts for any materials you purchase for temporary repairs. These costs are typically reimbursable under your policy.
Do not make permanent repairs before your insurance company has had the opportunity to inspect the damage. Permanent repairs before an adjuster visit can complicate or jeopardize your claim.
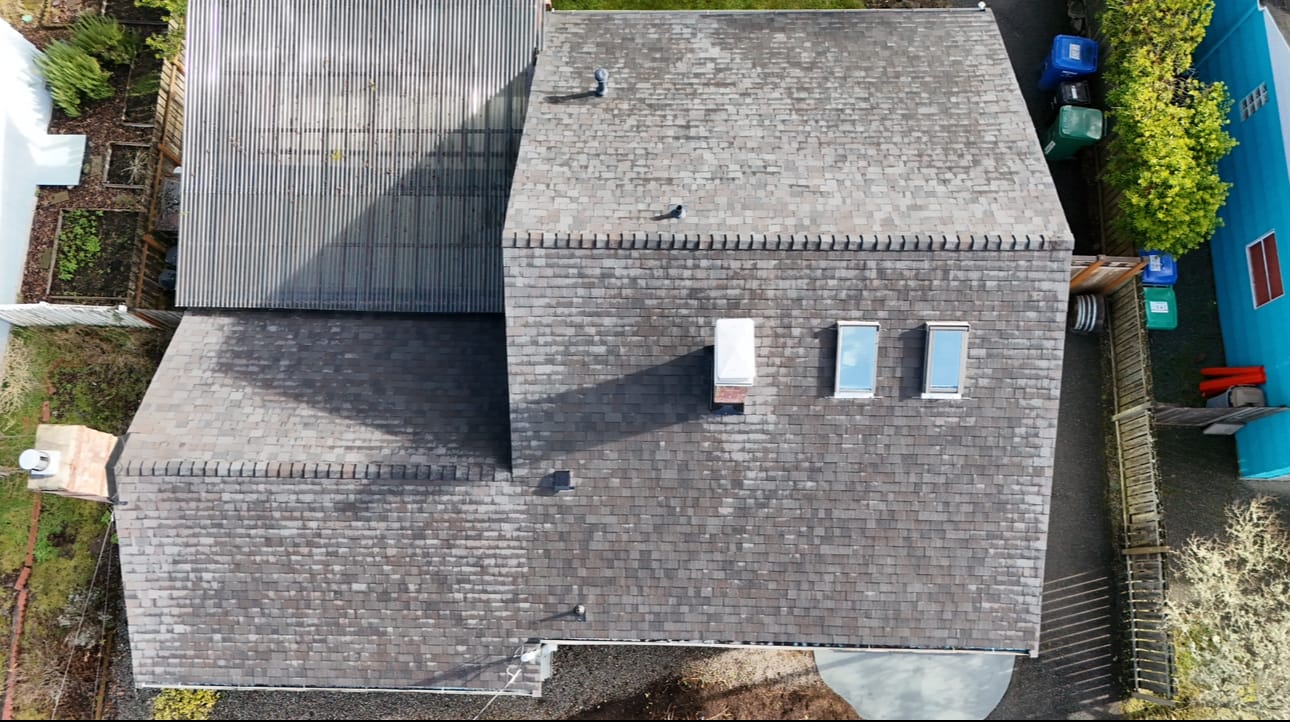
Step 2: Document the Damage Thoroughly
Documentation is the foundation of a successful insurance claim. Before cleaning up debris or making any temporary repairs, take extensive photos and video of all visible damage from as many angles as possible. Specifically, document:
- The roof surface showing missing, cracked, or displaced roofing material
- Any debris that caused damage (fallen branches, hail accumulation, etc.)
- Interior damage such as water stains, wet insulation, or ceiling damage
- Damage to gutters, fascia, siding, or other exterior components
- Wide-angle shots that show the overall scope of the damage
- Close-up shots of specific damage areas
If you took photos of your roof before the storm, perhaps during your fall maintenance inspection, these before-and-after images can be powerful evidence that the damage was caused by the storm event rather than pre-existing deterioration.
Write down the date and approximate time of the storm, the type of weather event (windstorm, hail, ice), and any observations about when you first noticed the damage. This timeline information is helpful for the claims process.
Step 3: Contact Your Insurance Company Promptly
Report the damage to your insurance company as soon as reasonably possible, ideally within 24 to 48 hours of the event. Most homeowner’s policies require prompt reporting of damage, and delays can complicate the claims process.
When you call your insurer, have the following ready:
- Your policy number
- The date and nature of the storm event
- A general description of the damage you have observed
- Photos and video documentation (many insurers allow digital submission)
Your insurer will open a claim and assign a claim number. Keep this number readily accessible for all future communications. They will also schedule an adjuster to inspect the damage, usually within one to two weeks for non-emergency claims. If the damage is severe and your home is at risk of further water intrusion, communicate that urgency. Emergency claims can be prioritized.
Step 4: Get a Professional Roof Inspection
Before the insurance adjuster arrives, schedule an inspection with a reputable roofing contractor. A professional roofer can identify damage that is not visible from the ground, assess the full scope of the problem, and provide a detailed written estimate that serves as an important reference document during the claims process.
The contractor’s inspection report should include:
- A description of all damage found, including areas that require repair and areas that require replacement
- Photos taken from the roof surface showing damage detail
- A written estimate with itemized costs for materials and labor
- An assessment of whether the damage is consistent with the reported storm event
Having a professional estimate in hand before the adjuster visit ensures that you have an independent assessment of the damage scope. Insurance adjusters are experienced professionals, but their primary obligation is to the insurance company. A contractor’s independent assessment provides a counterpoint if the adjuster’s scope of work is narrower than what is actually needed.
Step 5: Be Present for the Adjuster’s Inspection
When the insurance adjuster visits your property, be present if at all possible. Walk them through the damage you have observed, share your documentation and timeline, and provide the contractor’s inspection report and estimate. Being present allows you to point out damage that might otherwise be missed and to ask questions about the process.
If your roofing contractor is willing to be present during the adjuster’s visit, that can be especially helpful. An experienced roofer can communicate with the adjuster in technical terms about the scope of damage and the repairs needed. Not all contractors offer this service, but those who regularly handle insurance work often will.
Step 6: Review the Adjuster’s Report and Settlement Offer
After the inspection, the insurance company will issue an adjuster’s report detailing their findings and a settlement offer specifying the amount they are willing to pay for repairs. Review this report carefully and compare it to your contractor’s estimate.
If the adjuster’s scope of work and the contractor’s estimate are reasonably aligned, you can proceed with repairs. If there is a significant discrepancy (for example, the adjuster approves replacement of a small section while your contractor says the entire roof needs replacement), you have the right to dispute the finding.
Common points of disagreement include:
- Scope of damage: The adjuster may approve repairs to a limited area while the contractor identifies damage across a larger area.
- Repair vs. replace: The adjuster may recommend patching or partial replacement while the contractor recommends full replacement based on the age and condition of the existing roof combined with the storm damage.
- Matching materials: If your roofing material has been discontinued or has weathered to a color that cannot be matched with new material, you may be entitled to a broader replacement to maintain a uniform appearance.
If you disagree with the settlement offer, you can request a re-inspection, provide additional documentation, or escalate the dispute through your insurer’s appeals process. In Washington State, you also have the right to hire a public adjuster, an independent claims professional who works on behalf of the policyholder rather than the insurance company.
What Insurance Typically Covers (and Does Not Cover)
Understanding what your policy covers before a storm hits helps set realistic expectations:
Typically covered:
- Damage caused by wind, hail, falling trees or limbs, ice, and heavy snow
- Full roof replacement if storm damage is extensive and repairs are not feasible
- Temporary repairs and mitigation costs (tarps, emergency patches)
- Interior damage caused by roof leaks resulting from the covered event
Typically not covered:
- Normal wear and tear or gradual deterioration
- Damage from neglected maintenance (moss damage, rotted shakes)
- Roof leaks caused by age-related failure rather than a specific storm event
- Cosmetic damage that does not affect the roof’s function
The distinction between storm damage and pre-existing deterioration is often the critical question in roof insurance claims. An aging roof with visible wear may still have a valid storm damage claim if the storm caused damage beyond what the normal aging process would account for. This is where professional documentation and a contractor’s assessment become invaluable.
Avoiding Common Mistakes
Do not sign over your insurance claim to a contractor. Some contractors, particularly storm chasers who appear after weather events, ask homeowners to sign an Assignment of Benefits (AOB) that transfers the insurance claim to the contractor. This can limit your control over the process and your ability to dispute charges.
Do not accept the first settlement offer without review. Read the adjuster’s report carefully and compare it to independent estimates before accepting.
Do not wait too long to file. Most policies have time limits for reporting damage. Prompt reporting also makes it easier to establish the connection between the storm and the damage.
Do not hire unlicensed contractors. Washington State requires roofing contractors to be licensed, bonded, and insured. Verify any contractor’s credentials before hiring, especially contractors who solicit door-to-door after storms.
We Help With Insurance Claims
At K Single Corp, we regularly work with homeowners navigating the insurance claim process after storm damage. We provide detailed inspections, professional documentation, itemized estimates formatted for insurance review, and can coordinate with adjusters on your behalf. If your roof has been damaged by a storm, contact us at (206) 659-4349 for a prompt inspection and guidance on your next steps.